Compost is an essential tool in the organic farmer or gardener’s toolkit. Made from organic wastes like kitchen scraps, paper, and yard clippings, compost is an effective way to recycle while creating a valuable byproduct that feeds plants for healthy growth.
Read on to find instructions for composting in your own backyard, or download the cheatsheet here.
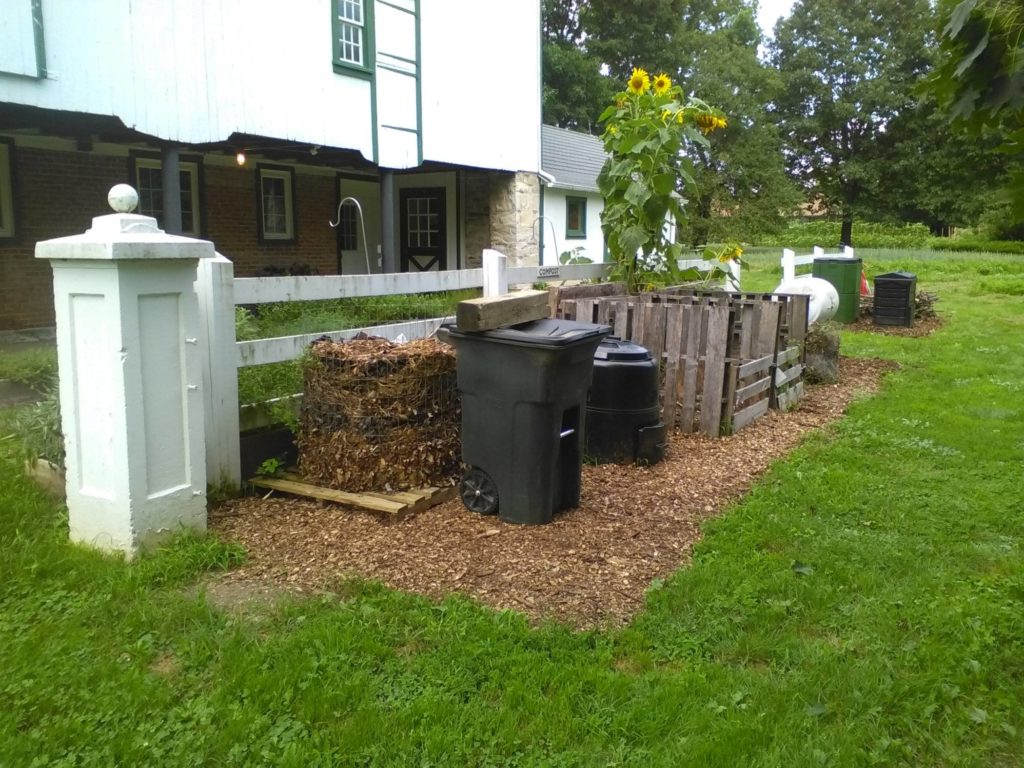
Compost Basics
Compost is prepared by managing the aerobic decomposition of organic materials like yard debris, grass, leaves, kitchen scraps, paper, manures, straw, hay, wood chips and sawdust.
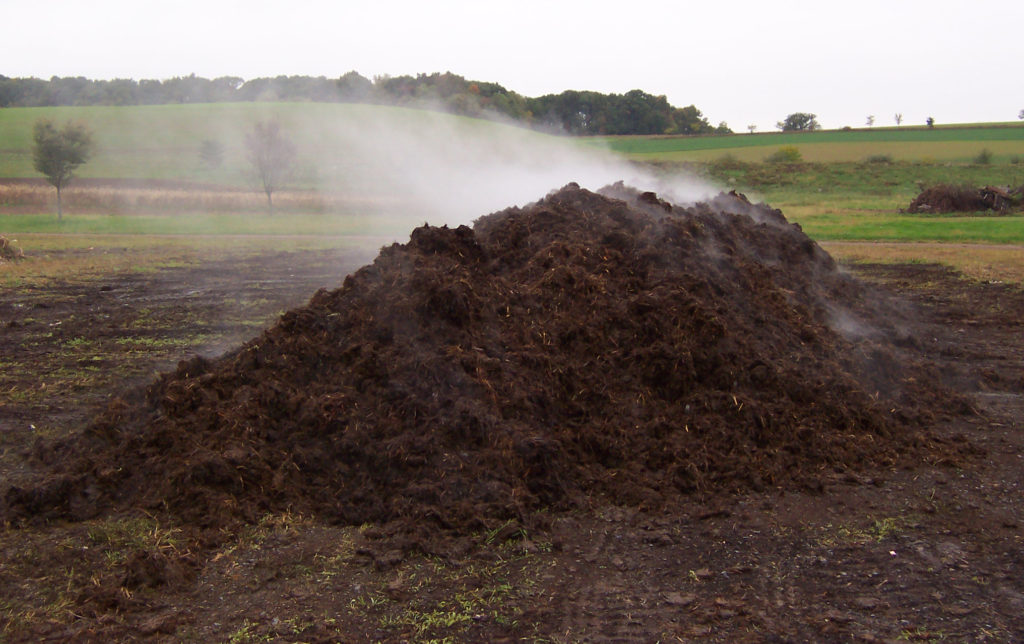
A complex community of microorganisms feed on these inputs, breaking them down and releasing valuable plant nutrients. As the microorganisms feed, the temperature of the pile rises. Compost typically reaches
temperatures of 130°F or higher during peak decomposition. As more material breaks down, the temperature of the compost pile will decrease to ambient air temperatures. At this point, the pile cures and is ready for use as a soil amendment.
Building Blocks of Compost
Composting requires 4 basic elements:
1. Water
2. Oxygen
3. Nitrogen, and
4. Carbon
Water is necessary for sustaining the microbial life in the pile and oxygen maintains aerobic conditions.
Nitrogen-rich materials, commonly referred to as “greens,” are typically moist and contain a higher ratio of nitrogen to carbon. Greens are food wastes, grass, coffee grounds, and others.
Carbon-rich materials, or “browns,” help balance the green materials and are typically dry, brittle materials like leaves, straw, newspaper, and wood chips.
What Can Be Composted?
YES
“Greens”
• Most food waste
• Coffee grounds and filters
• Vegetables and fruits
• Egg shells
• Manures
• Grass
“Browns”
• Soiled napkins and paper plates
• Newspaper
• Leaves and straw
• Wood chips
• Yard debris
NO
• Plastic
• Glass
• Metal
• Styrofoam
• Meat*
• Dairy*
• Oily products*
• Fatty products*
*These materials can be composted but they risk attracting pests and causing odors if not managed properly. Compost them only if you are experienced.
Choosing a System
There is no one right way to compost. The various bins and systems available have different costs and benefits, but all can be successful.
Probably the most common method for composting is an open pile. This works if you have some land and your proximity to neighbors is low, as open piles tend to be managed less, and pests and foul odors can occur.
You can build your own bin from welded wire, wood pallets, chicken wire, cinder blocks, drums and trash cans. Welded wire bins are the most cost effective. You can also purchase a pre-made bin at your local gardening store or online.
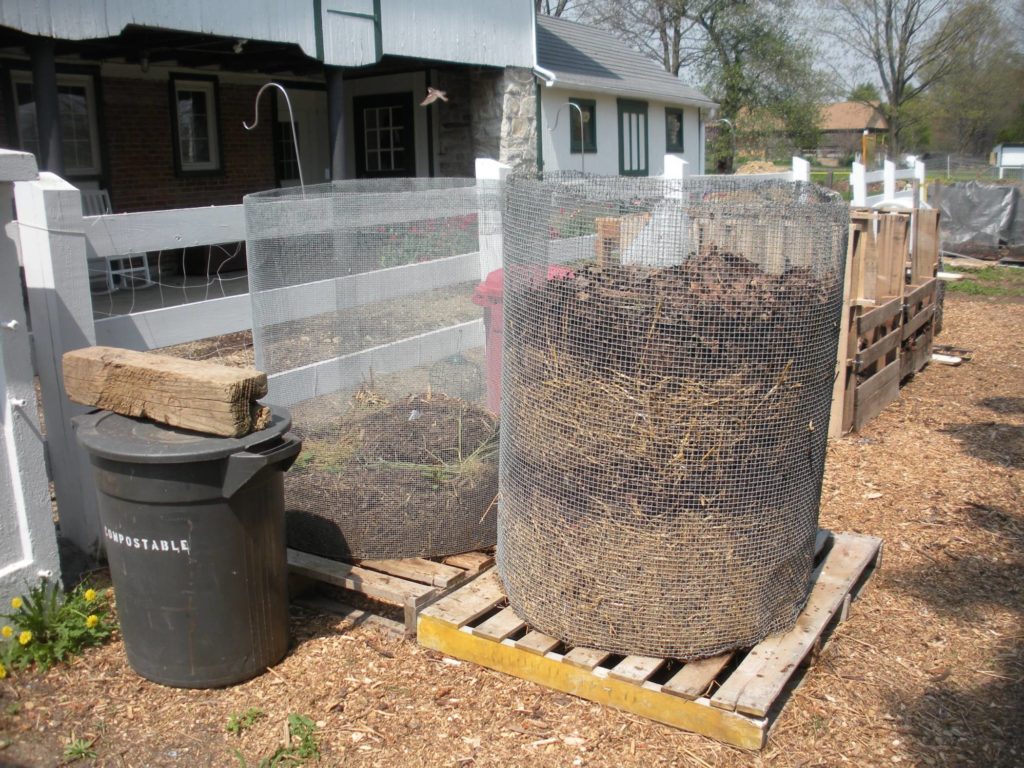
When choosing a bin, keep volume in mind. We recommend something 3x3x3 feet or larger. This will minimize the surface-to-volume ratio and improve heat retention during composting.
Preparing Scraps for the Pile
Keep a container in the kitchen to collect scraps as they’re created. When the container is full, empty it into your compost pile. The size of the container will depend on your needs and the amount of waste you typically produce. Avoid sealing the container, as this creates anaerobic conditions which create foul odors. Instead, partially seal the container or cover it with a cloth to keep odors in and fruit flies out.
Cutting, chopping, and crunching food scraps will increase their surface area, accelerating decomposition. However, too much cutting creates excessive moisture. Aim for a diversity in size and shape when preparing food scraps.
Building & Managing the Pile
“Lasagna layering” is a simple and effective technique for building and managing your compost pile that prevents a number of issues.
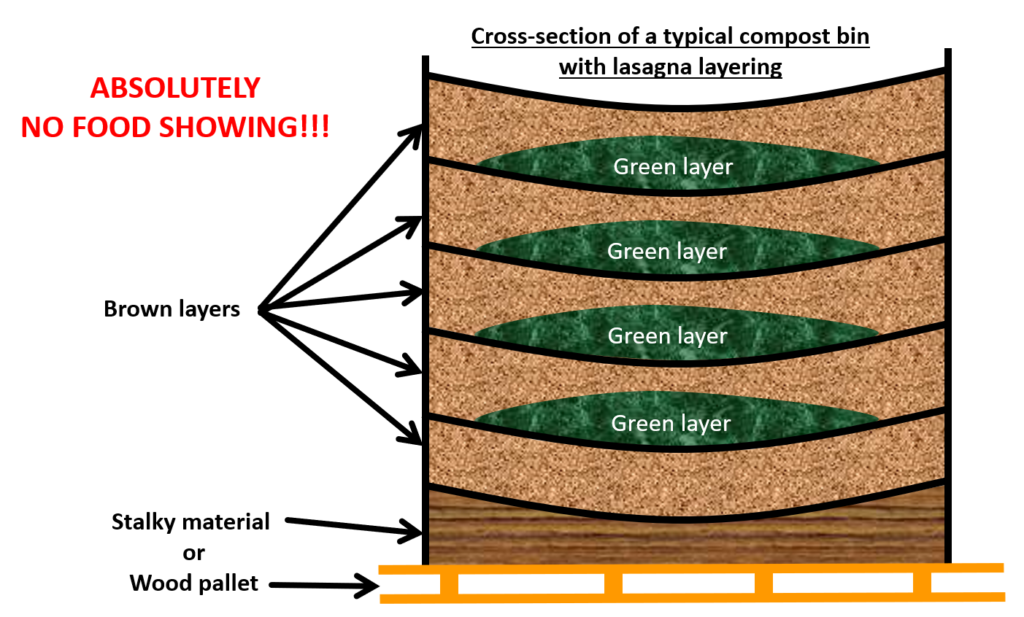
First, raise the pile off the ground using a wood pallet or add 6-12 inches of stalky, course material at the bottom of the bin. Next, create a thick nest of brown material inside the bin. Add your green waste to the center of the nest. Finally, add another layer of browns so that no food is showing. Continue to alternate brown and green layers as compostables are generated and added to the pile. Brown layers should be two or three times thicker than green layers.
Turn the pile at least once a year to accelerate decomposition: First, remove the outer layer of browns, and use a shovel or pitch fork to flip the remaining contents into a new bin. Alternatively, tumble or roll your bin. Continue to layer.
Troubleshooting
Even the most experience composters will need to troubleshoot a problem from time to time. Having a strong understanding of the four components of a composting pile will greatly increase your chances of avoiding issues and overcoming challenges. Here are a few of the more common issues when composting:
| Issue | Solution |
| Not heating up | Add greens or larger volumes of browns and greens |
| Too dry | Add greens or water |
| Too wet | Add browns or decrease greens |
| Foul odors | Add more browns |
| Flies and other pests | Add more browns and no food showing |
Using Finished CompostU
Finished compost is dark brown and crumbly. There will be no recognizable compostables left, and no foul odors will be present. It may take a year or longer to generate finished compost depending on the materials added and how often the pile was turned. Woody materials will take longer to breakdown. Be patient, compost happens.
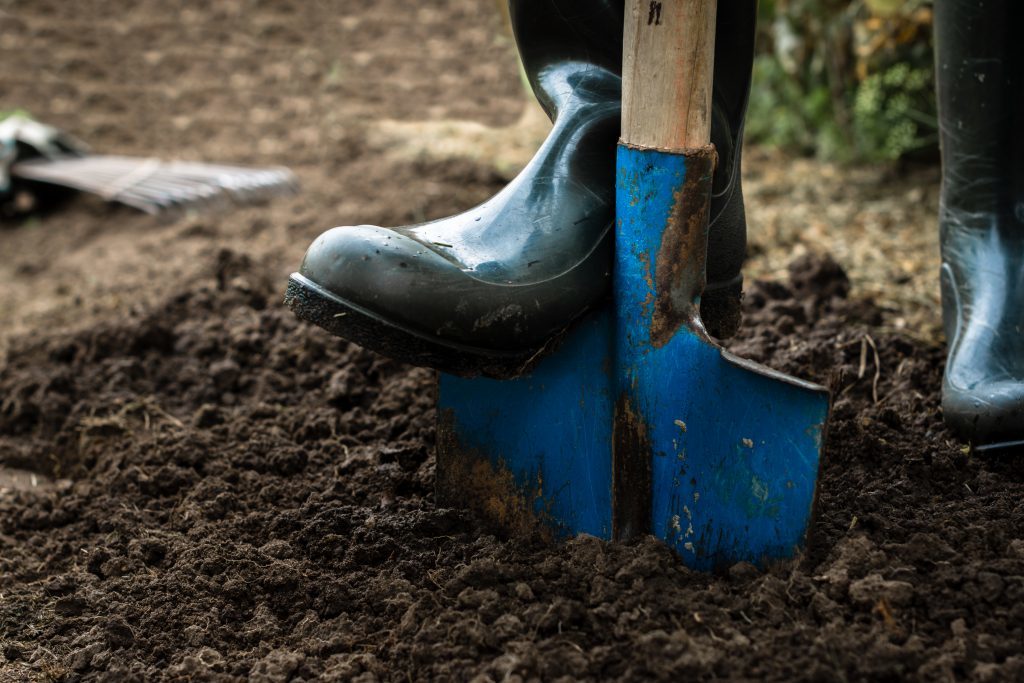
Finished compost can be used to:
- mulch or “top dress” planted areas,
- amend to soil prior to planting,
- or as a component in potting media.
Add about two inches of compost to new beds and about one inch of compost each year to existing beds. Incorporate the compost into the soil as much as possible.
Rick Carr is the Compost Production Specialist at Rodale Institute.
Want to learn more about composting? Check out our Resources page here.
