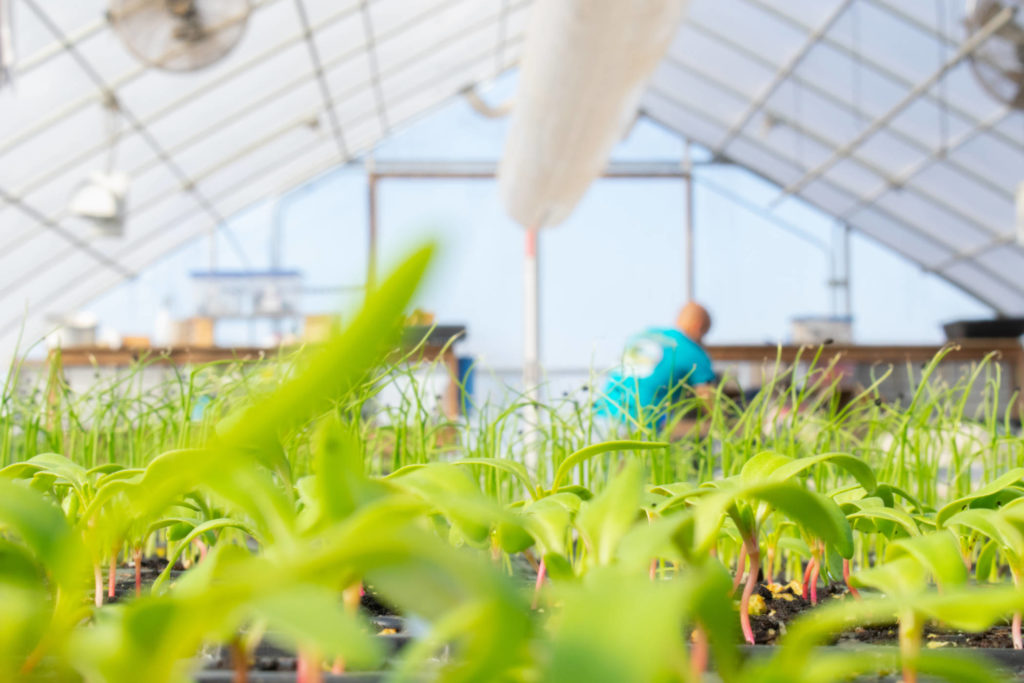
So you have decided greenhouse production is right for you. Since reading Part 1, you’ve selected a site and prepared the soil, all the while anxiously awaiting further guidance before building the structure. The wait is over, farming friends. Read on as we impart the wisdom of John Biernbaum, a greenhouse-savvy professor of horticulture at Michigan State University, advisor to the MSU Student Organic Farm, and Greenhouses for Year-Round Food and Farming workshop leader at the at Organic University, the pre-conference program to the 2005 Upper Midwest Organic Farming Conference.
First and foremost, Biernbaum says, find a reputable greenhouse manufacturer. He offers the following resources: www.hightunnels.org, the National Greenhouse Manufacturers Association www.NGMA.com, and the Hoophouse Handbook (Fairplain Publishing, 2003).
Hiring someone to build the greenhouse usually doubles the cost, so most farmers do it themselves, Biernbaum says. Building the first one takes the longest, he says, but subsequent ones are much easier and faster. Biernbaum recommends seeking the help of someone who has built a greenhouse before. He has built or helped build 12 of them in the past four years (from six different companies) and assured all of us participating in the workshop that we could do it. (Biernbaum has obviously never witnessed the destruction that ensues when I am entrusted with a hammer, but I’ll take his word for it and believe that even I am capable of building the structure; he is, after all, the greenhouse guru.)
Planning
Don’t bust out the toolkit just yet, there are a few more planning steps before you dive into construction. You probably already contemplated size before preparing the site, but here are some size considerations.
Greenhouses generally range from 14 to 34 feet wide and 10 to 15 feet tall. The wider your greenhouse, the taller it will be. Cost may be a limiting factor when determining the dimensions of your greenhouse, so you may have to weigh the benefits and costs of width verses height.
Biernbaum explains: “Increased width may decrease side-to-side ventilation [and increase cost], but the wider the greenhouse the less freezing will occur at the edges. For winter production, wider is better.” Biernbaum reminds us that you can always build a wide structure and add length later, but you cannot build a narrow structure and widen it. He adds that 30-foot wide greenhouses usually include cross braces for strength.
The length in which the plastic rolls are sold usually determines that your greenhouse be 48-, 72-, 96-, or 148-feet long, but most any length in increments of four feet is possible.
The length and width will influence what ventilation method to use. You can ventilate through the endwalls by leaving doors open or by installing vents, or you can ventilate through roll-up sides.
“There is still discussion about how necessary roll-up sides are on wider houses that have enough height for heat to rise up away from crops,” Biernbaum says. “Not everyone is using roll-ups, although they are fairly common.” (The Student Organic Farm at MSU uses roll-up sides on its greenhouses.)
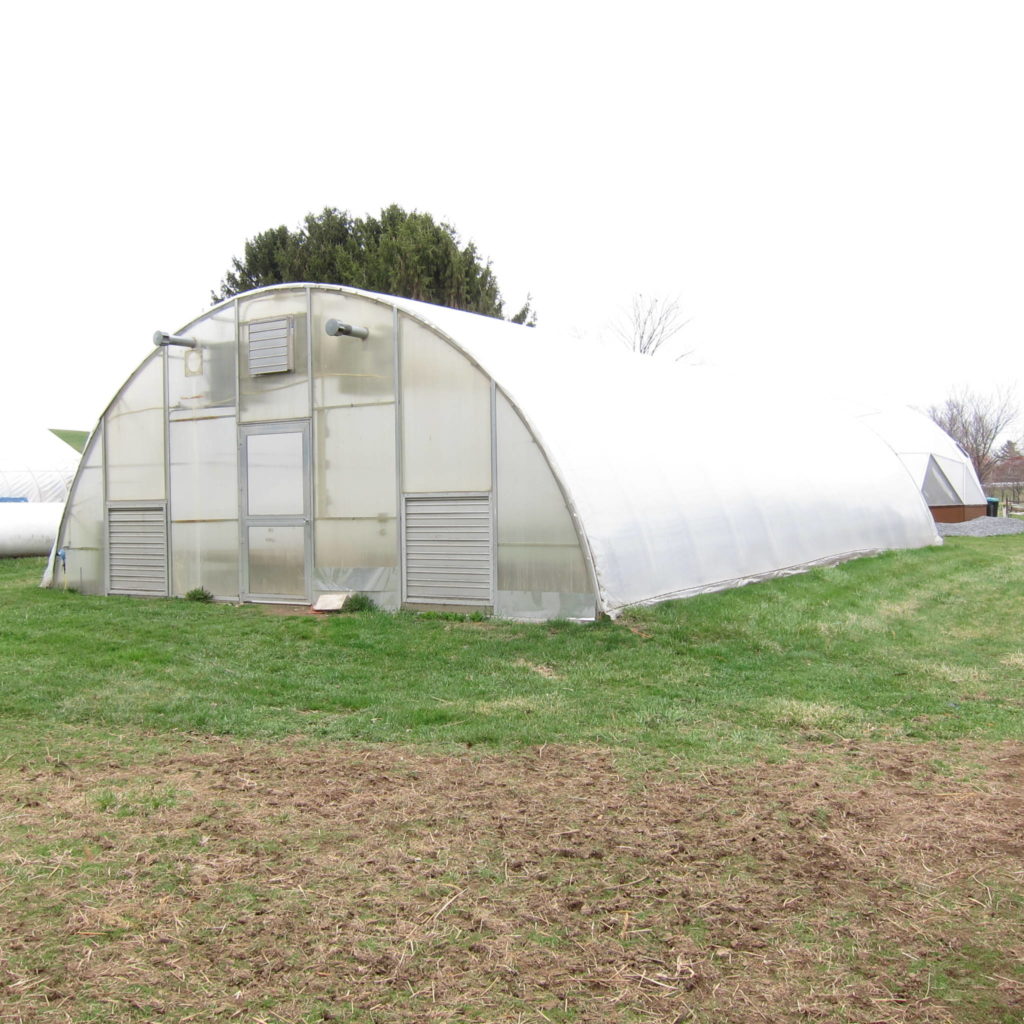
Shape influences the impact of snow, light and condensation. The most common shapes are Quonset, which has a rounded top, and gothic, where the top is pointed. Biernbaum recommends gothic because the pointed top helps remove snow. Also, when the sun is low on the horizon, you want the sun striking the roof as close to 90 degrees as possible, and a pointed roof is most conducive to that angle. In summer when light may be overabundant, a gothic-style greenhouse helps deflect light. Finally, the pointed roof of the gothic style helps condensation run down the plastic rather than drip from the ceiling.
Putting it all together
Okay, now go get that toolkit (and your greenhouse kit, of course), and call a few friends over to help. Here are Beirnbaum’s instructions:
Start by carefully squaring the corners, usually by checking the diagonals (the distance between opposite corners should be equal) or with a 3-4-5 triangle.
Next, you want to sink your posts. Make sure they are at least 36 inches long, because you want to set them at least 24-inches deep into the ground. Set the posts in straight lines, 4 feet (or the recommended distance) apart. A piece of two-by-four with notches 4 feet (or the recommended distance) apart and the width of the posts can help with this measurement.
Protecting the ends of the pipes with a large bolt, drive the posts into the ground with a sledgehammer. Be careful not to pound the pipes too hard! If you hit rocks, they’ll have to be dug out. Remember, the posts must be level across the greenhouse, but it is okay if the house slopes end-to-end if necessary.
Assemble the bows and rafters and put them in place. Attach the ridgepole (the horizontal beam at the ridge of a roof to which the rafters are attached) and purlins (the other pipes that run the length of the house). If the design is based on pre-drilled holes at four feet, the rafters must be exactly at four feet; if you are using clamps, there is some wiggle room.
Next, attach the baseboard and the kneewall using either bolts or u-brackets (pipe clamps). It is important to add wind braces to keep the structure from moving.
Next, add the endwalls. You have some choices here, depending on whether you build them yourself or purchase constructed ones. Endwall covering is usually polyethylene film like the roof. Rigid sheets (polycarbonate or fiberglass) can be used but cost ten times more per unit area than polyfilm. You may have to shell out $300-$400 per end for a 20-foot wide greenhouse for pre-made polycarbonate endwalls, Biernbaum says, but lower cost, simpler walls are often used.
“When choosing endwall material, do not forget that endwalls and doors take more wind stress than the rest of the greenhouse,” Biernbaum tells us. “Also, remember that if you are heating your greenhouse, you should use a double layer on the endwalls.”
Attach the doors and vents, Beirnbaum says, then comes the fun part—attaching the plastic. Biernbaum recommends polyethylene greenhouse film because it lasts three to four years and has high light transmittance while resisting UV degradation. It should cost anywhere from $250 to $500 to cover the structure with polyethylene.
Depending on the weather, it may be best to leave attaching the plastic for another day.
Biernbaum is frank about this: “A small amount of breeze can make for a big kite.” (We all trust him on this one.)
The preferred temperature for attaching plastic is 60°F-70°F, Biernbaum says. If it is too cold, he says, the plastic will be loose in summer; If it is too warm, the plastic will stretch too tight in winter.
You have a couple of choices when determining how to attach the plastic, Biernbaum informs us: You can use wood lath and screws (which runs about $.25 per foot) or you can use wiggle wire and wire locks (which runs about $1 a foot).
For the first, least expensive option, the wood lath attaches the plastic to the endwalls’ wooden frame. The plastic is pulled taught against the frame; then the lath is screwed on, sandwiching the plastic between the frame and the lath.

With the second option, the wiggle wire (which is like a metal track) is also mounted on the endwalls. The roof plastic is pulled down over the track, then the wire lock is placed over the plastic and snapped into the wiggle wire (the plastic is sandwiched between the wiggle wire and the wire lock). While this option is more expensive, Biernbaum says, most people find the simplicity of the system worth the extra cost.
A double layer of plastic on the greenhouse helps keep it insulated, though some people choose a single layer. If you use two layers, three to four inches between the plastic layers is desired for airspace. Pull the two layers over the top of the greenhouse at the same time. At this point, they will lie on top of each other. Pull both layers of plastic tightly across the width of the greenhouse and secure it. Then pull the plastic the length of the greenhouse and attach it to the endwalls. The idea is to create tension in all four directions. Then, add a fan to inflate the layers. The fans used at the Student Organic Farm use as much electricity as a light bulb, so do not worry too much about the cost. While there will always be some air leaking, if you have pulled the layers tight and securely fastened them, it should not be significant.
Finally, he says, it’s time to attach the roll-up sides (if you decided to include them). You can make the sides or purchase them. Purchased roll-up sides may cost $300-$400 for a 96-foot-long house. You may consider putting plastic part of the way up the walls so you do not roll up the sides from the ground; this will also help keep out rodents when the sides are up.
Biernbaum says he tried small-diameter conduit as a pole in the roll-up at the Student Organic Farm, thinking it would be cheaper and lighter, but he does not recommend it. A larger diameter pipe of heavier weight (such as a chain-link-fence top rail) helps, as do manufactured clips for holding the plastic.
As for the handles, manufactured crank rollups cost $400-500. You can make your own T-handles for only a few dollars (see photograph).
Bed layout
Bed layout will influence how much of the greenhouse space you use for growing, which can vary from 65 to 80 percent. For a given width greenhouse there is some appropriate combination of beds, usually 2.5 to 5 feet wide, and aisles, usually 10 to 15 inches. Some farmers prefer long beds the length of the greenhouse, while others choose shorter beds across the greenhouse. Consider the type of equipment you will be using, including seeders, wheelbarrows, and harvest containers; method of irrigation; how many workers will be in the greenhouse at once; and how the beds will be covered in winter. Wider beds (up to 5 feet) result in higher space efficiency but may be a difficult reach for workers.
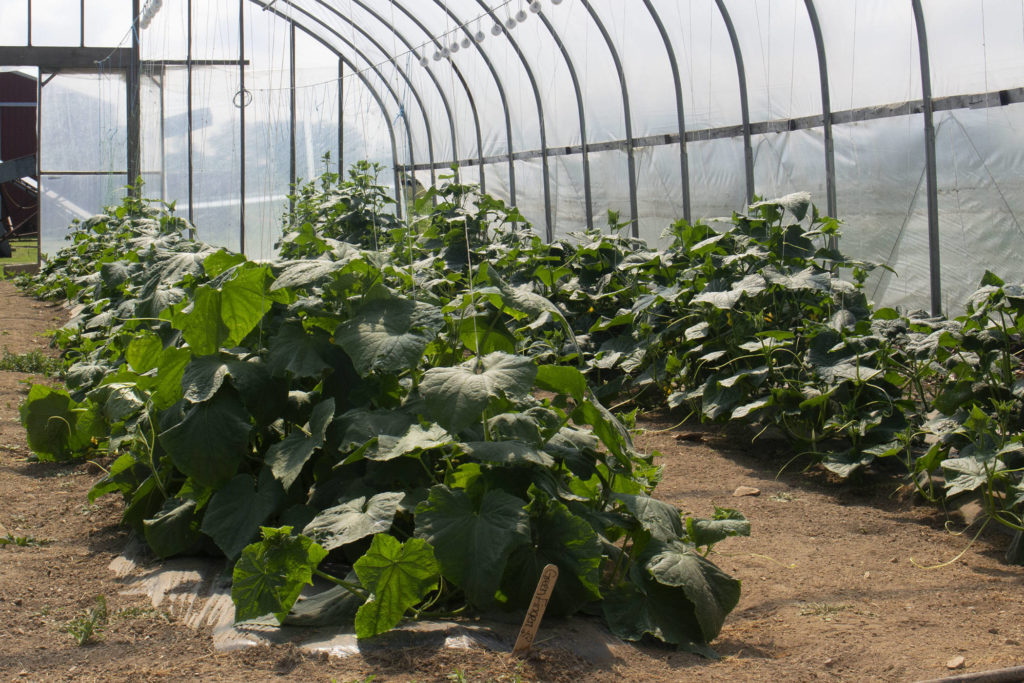
It’s a lot to consider, but Biernbaum is reassuring: “Do not stress over the bed layout too much, as you can usually change the arrangement over time if you find your first choice is not working well.”
Congratulations, you have built your first greenhouse! Not too difficult, was it? Now, it is time to let all that hard work pay off.