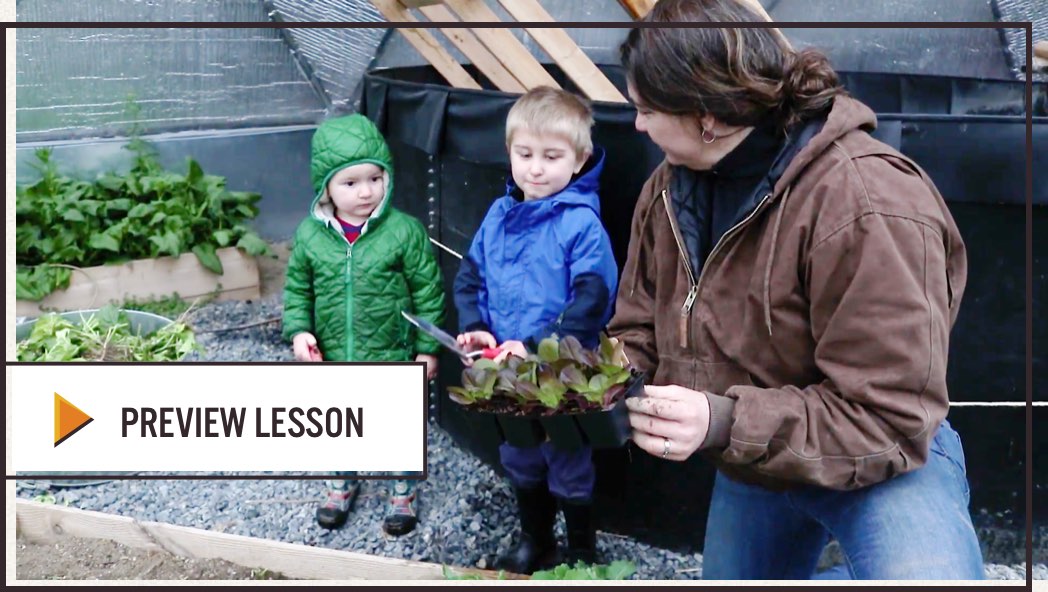
Planting A Garden
Lesson Overview
Children will explore the soil with tools, learn how to move carefully and respectfully through the garden using pathways, and understand the difference between where to walk and where plants grow. They will learn to be mindful and use delicate actions to plant baby seedlings.

Activity 1
Preparing the garden
Raised beds should be built, or containers set in place, ahead of time. They should also be at least ½ to ¾ full of soil before involving the class. Otherwise, this step could take several days before ready to plant. Children can help fill the last bit of soil into the beds, to feel connected to this part of the process, but too much heavy lifting will likely tire them out. Use small wheel barrows or small buckets that are an appropriate size for them.
Children can also use rakes and trowels to explore the soil and prepare the surface for planting.
Materials:
- Downloadable Instructions:
Raised Garden Beds - Containers
- Other planting space
- Compost/Soil
- Trowels, rakes, shovels, wheel barrow, stepping stones, watering cans/hose, labels, row cover (for frost), stakes and twine (for beans or tomatoes)*
*Use tools that are the appropriate size for the students.
Activity 2
Follow the leader
Walk around the pathways so children understand the appropriate place to walk and where plants need space to grow. Make it into a fun game doing different types of walks and movements. This circuit should be repeated enough times that the children do not have to think about where they should and should not walk.
Tip for success: Make a small list of rules that children need to follow when participating and visiting the garden. View our sample Safety Tips and Safety Contract.
Activity 3
Transplanting the garden*
Each child will plant a seedling with help from an adult who will remove it from its container. Children will dig a hole about two times the size of the container holding the roots of the plant. They will use a watering can or hose to fill up the hole with water.
An adult will then remove the plant from the container. New seedlings are very delicate; the best strategy is to grasp the plant firmly from the thick part of the stem as close as possible to the soil level. With the other hand, tip the container so it is sideways or upside down. It may help to squeeze the container a little to loosen the roots and remove the whole plant. You want to make sure that the majority of the roots are intact when removing. It is ok to plant the whole soil block into the hole. Place the seedling in the hole. The child will then cover up the roots with the surrounding soil. Transfer the popsicle stick label into the garden with the plant.
Tip for success: Assign a teacher or parent to coordinate ongoing maintenance like daily watering and weeding.
*It is helpful to have some backup transplant resources in case there are any growth issues with classroom plants.
Activity 4
Rock on! Labels for the garden
Painting rocks to label garden plants with words or pictures. Collect some palm-sized rocks. Paint them white or another solid color and allow them to dry overnight. Then decorate them using colorful paint or crayons with pictures of veggies or words that describe the crop planted. Let dry overnight if necessary, then set into the garden.
Materials:
- Several Palm-sized Rocks
- Acrylic Paint
- Paint Brushes
- Crayons
Activity 5
Mulching
Use straw, dried leaves or grass clippings to spread around the garden to protect plants and keep weeds out.
Materials:
- Straw
- Dried Leaves, or Grass Clippings
- Gloves
- Rakes
Activity 6
Protecting Plants
Depending on your site, you may need to protect your garden from wildlife such as birds, groundhogs, rabbits, or deer. Birdnetting can be very effective for this job. Pin the netting at the edge of the bed and over the seedlings using ground staples. It may be necessary to use many layers depending on the type of pest pressure you are experiencing.
Recommended Books
Margaret Wise Brown
Two Little Gardeners
A young brother and sister who plant seeds that will result, after much hard work and patience, in a bountiful garden! It teaches that good things come to those who wait, and features a little song at the end of the book.
Katherine Ayers
Growing Vegetable Soup
Together, a father and child share the joys of planting, watering, and watching seeds grow. And once their harvest of tomatoes, potatoes, cabbage, and corn is ready, they'll cook it up into the best soup ever!
Craft
Plant Journals
Continue using the Plant Journals to encourage children to write their observations and involvement in the project. They should visit the plants each day and draw pictures of what they see, measure size, or make other notes.
Snack
Veggie Pockets or Apples & Honey
Enjoy this veggie pockets recipe with local organic cheese. It's a perfect use for sprouts, simple and very flexible! It is fun to have the children build their own (with some help, of course!) Allow kids to write the recipe on our downloadable recipe card.
You can also enjoy organic apples and honey at snack time.
View Veggie Pockets Recipe
Ingredients:
- Pita pocket bread cut into small triangles for tasting
- Cheese: cream cheese or sliced cheese work equally well
- Selection of veggies: sprouts, sliced cucumbers, chopped lettuce or raw spinach, shredded carrots, diced peppers, halved cherry tomatoes, etc.
Directions:
- Arrange all ingredients on separate plates to create a Make-Your-Own Veggie Pocket buffet. If using cream cheese this could also be pre-spread on the pitas for ease.
- Children choose their ingredients and build their pockets on their plates!